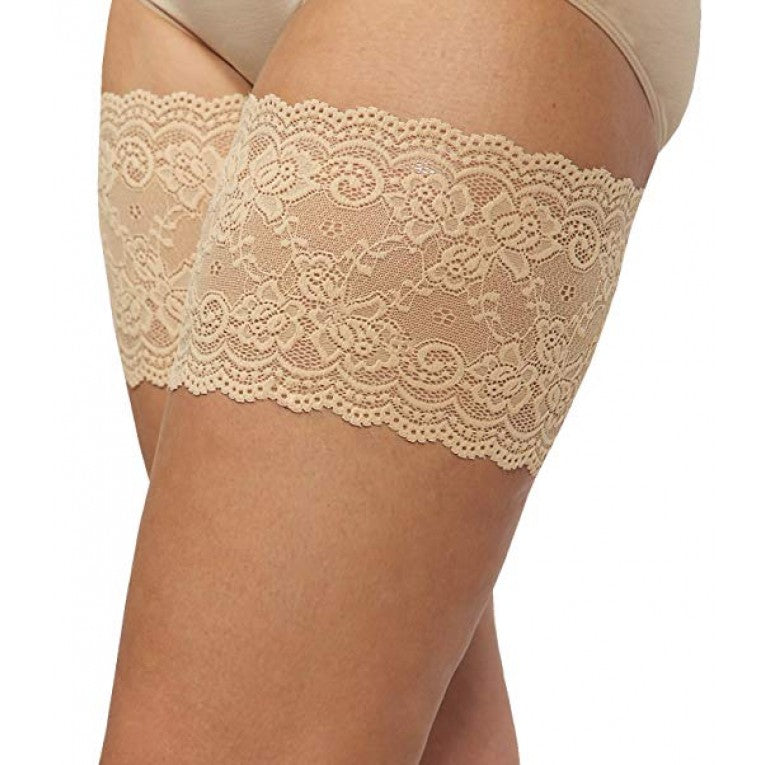
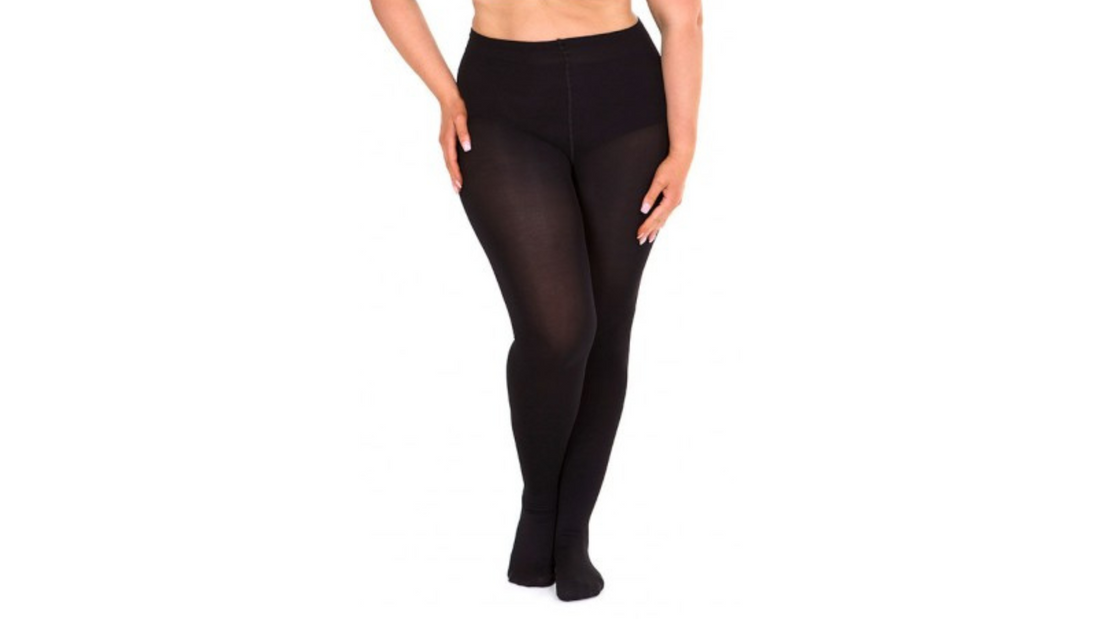
Tights are a stylish addition to many of today's fashions. Not as sheer as pantyhose, tights can be worn beneath dresses, skirts and jumpsuits to cover legs for warmth, or to complete a look while being less bulky than pants. No matter how many times you put on tights, it can be tricky. However, with the below guideline, you too can learn how to slip into them without causing a tear.
Part 1: Choosing and Preparing Your Tights
1. Choose the right size
Choosing the right size tight is a critical step in putting on tights correctly. If you choose the wrong size, then no matter what you do, you’re going to have difficulty putting them on properly.
Tights are often sized according to weight and height. Check the packaging that comes with the tights to determine what size matches your weight and height range. For the more curvy woman, there are specialty plus size hosiery brands. For instance, Sonsee’s range of plus size tights, pantyhose and stockings are purposely designed for the fuller figure of a plus size woman.
If you are uncomfortable because your tights are too tight, move to a bigger size. Your tights should fit well enough still to stay around your waist.
If you are taller than average or have longer-than-average legs, choose a size marked "tall."
If your measurements fall in between sizes, always choose the larger of the two.
2. Prepare your hands and feet
Once your tights get a tear, or developed a hole, they are useless. Jewelry can be a major culprit which can create a snap, so take any off before you attempt to pull on your stockings. You'll also want to buff any rough edges from your fingernails, toenails, hands and feet.
3. Remove packaging from your new tights
Remove your tights from the packaging, and unfold them. This may include removing any cardboard backing tucked inside them. You can do this by gently folding the cardboard in half so you can ease it out the top of your tights.
4. Stretch the tights gently lengthwise
Gently stretch your tights to create some give in the tights before you start putting them on. Be careful not to pull too hard as this may tear them.
Part 2: Putting Your Legs in the Stockings
1. Hold the tights in front of you
Sit down, so you’re in a steady position. When sitting, hold them with the front, or toe, facing forward. Tags inside the waist band will help you identify the front from the back.
2. Gather one leg of your tights to the toe
Starting on either the right or left side, hold the waist of the tights and gently bunch the leg, gathering the fabric until the inside of the toe is exposed.
3. Ease the foot of the tights over your foot, from toe to heel
Point your toe and slip your foot inside the tights. Put your whole foot inside and arrange the bottom of the tights' foot so that the seam at the toe runs across the tip of your toes. Make sure the foot of the tights fits nicely around your toe and heel.
Keep your thumbs inside, pointed downward and the nail-side against you to avoid senselessly snagging your tights. You might need to stretch the opening a bit to make sure your foot slides inside without catching on the fabric. Pointing your toe will help prevent your toenail from snagging the tights.
If either the toe or heel of the tights is crooked, you'll want to make sure it's straightened or you'll have trouble with later steps.
4. Pull the tights up your leg
Gently stretch the material, and unroll it up your leg to above your knee, near your mid-thigh. Be careful as you do this so the fabric doesn’t pull or rip. If the fabric is twisted or bunched at the knees, straighten it before continuing. Repeat these steps to pull the tights up your other leg.
Gather the waist and toe of the other leg to create an easy pathway for your foot. Point your toe and insert your foot, lining up the toe of the hose so that the seam runs across your toes. Gently pull the tights leg up over your calf and knee to your mid-thigh. Make sure the leg of your tights isn't bunched or twisted.
Part 3: Completing the Look
Pull up the tights. Once you've partially pulled the tights up each leg, stand up and continue gently unrolling the material. Continue to pull up the tights further, until the waist band is positioned around your natural waistline. You'll have the best luck if you pull the material up on one side, then the other, before finishing with the hips and waist. If there are areas left rumpled or baggy, or if the legs don’t seem to be long enough, roll the tights down to the knees again. Just sit down, gently stretch them out and roll them back up. Be careful not to yank them back up from the top or they will likely tear.
Make necessary adjustments. Check for areas where the tights are bunched or places where your skin feels pinched. Your tights should feel snug, but not uncomfortable.
If you see a place where your tights are twisted, your best bet is to take them off and repeat the process more carefully. Use the flats of your hands to adjust any wrinkles.
Perfect your pattern. If you're wearing patterned or seamed tights, you'll want to ensure that the design is placed appropriately on your legs. Try putting on a pair of rubber gloves to make small adjustments for a flawless finish instead of pinching the tights with your fingers and risking a tear.


